To use Laravel Sail on macOS, follow these steps to get a development environment up and running:
Since Laravel Sail uses Docker to run your application, you'll need to install Docker Desktop for macOS:
You can create a new Laravel project with Sail using the following commands:
Open a terminal and navigate to the directory where you want to create your project.
Run the following command to create a new Laravel project:
curl -s "https://laravel.build/example-app" | bash
Replace example-app with your desired project name.
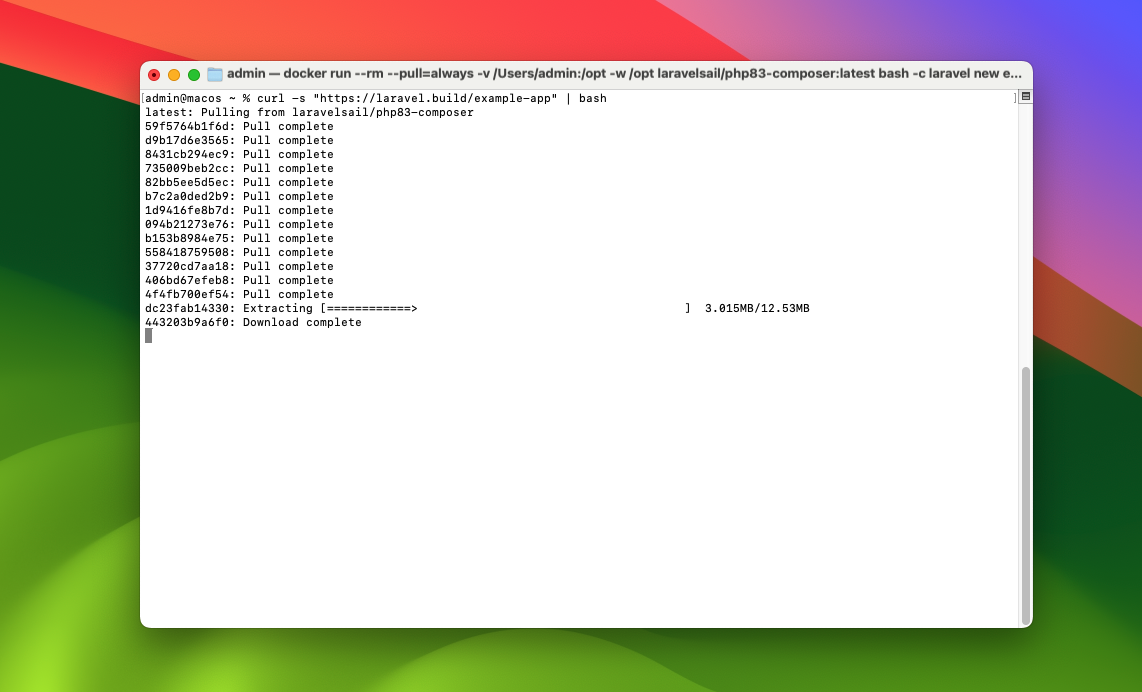
Once the project is created, navigate into your project directory:
cd example-app
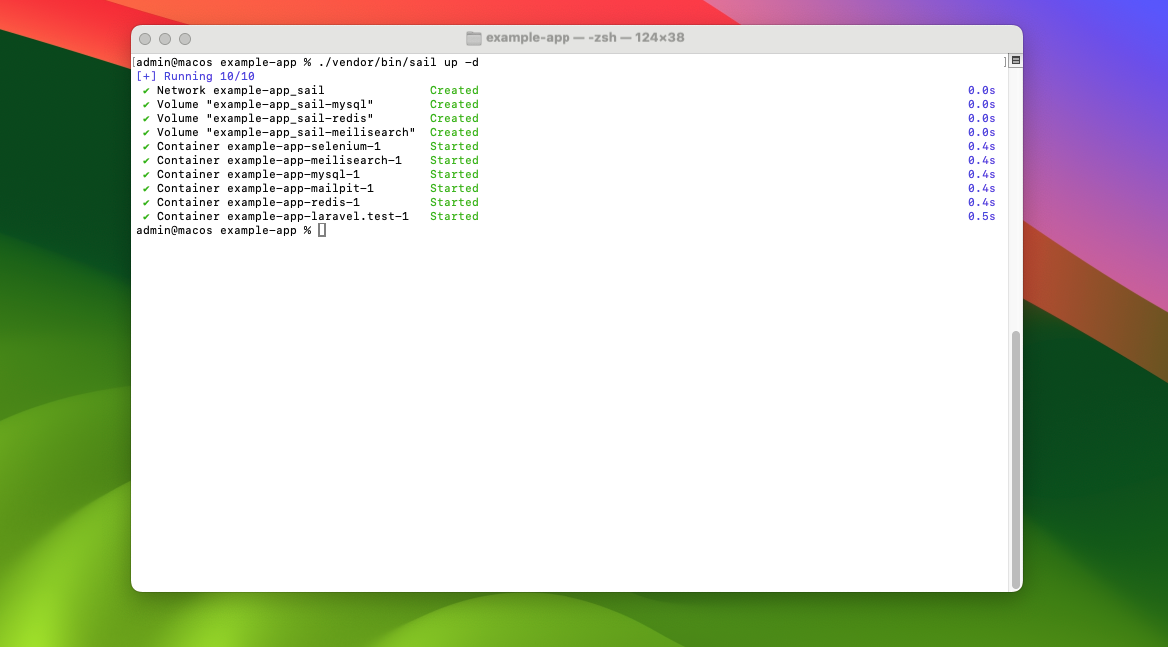
Laravel Sail uses Docker Compose to manage containers. You can start Sail and run your application as follows:
Run the following command to start Sail:
./vendor/bin/sail up -d
This command starts the application in the background using Docker containers. By default, it sets up services like MySQL, Redis, and Mailpit...
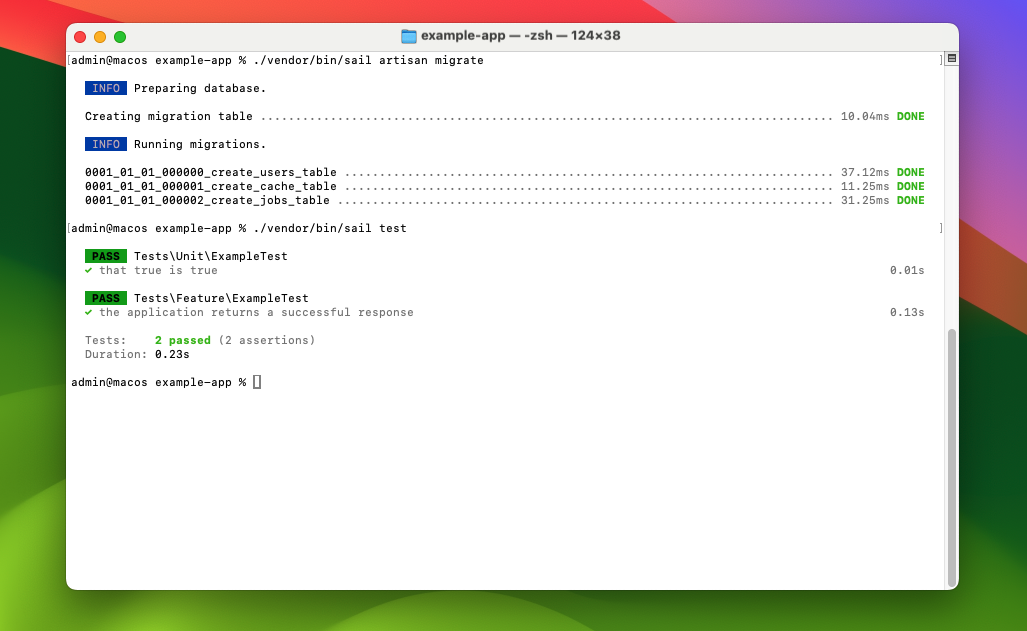
You can now use Sail to run common Laravel commands. For example:
To run migrations:
./vendor/bin/sail artisan migrate
To run tests:
./vendor/bin/sail test
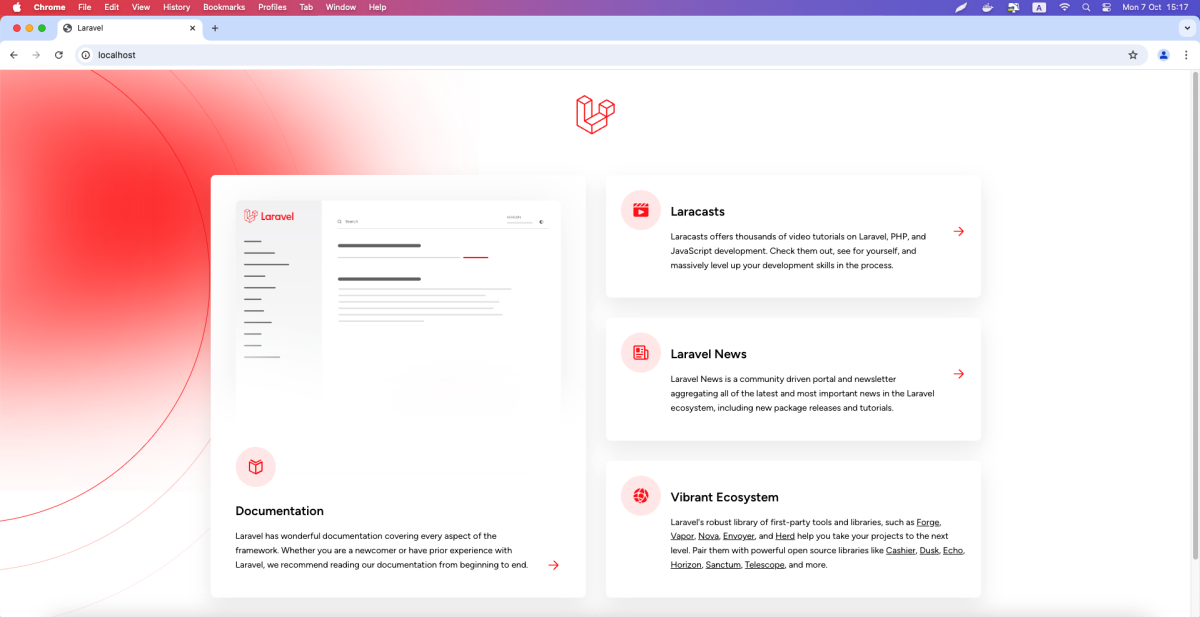
Once Sail is running, open your browser and go to:
http://localhost
Your Laravel application should be accessible from there.
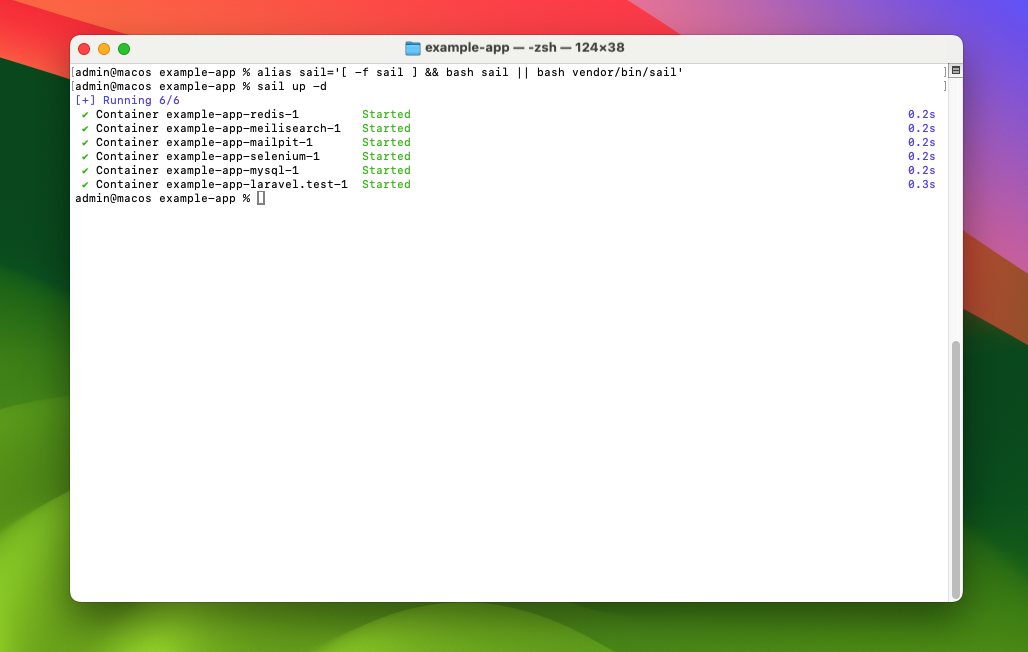
sail AliasTo make interacting with Sail easier, you can add an alias to your terminal configuration. Run this command to define the alias:
alias sail='[ -f sail ] && bash sail || bash vendor/bin/sail'
Now you can run commands using sail instead of ./vendor/bin/sail, like this:
sail up -d
sail artisan migrate
 That's how you set up and use Laravel Sail on macOS!