Installing Visual Studio Code on macOS is straightforward. Here’s how to do it:
Visual Studio Code.app file.
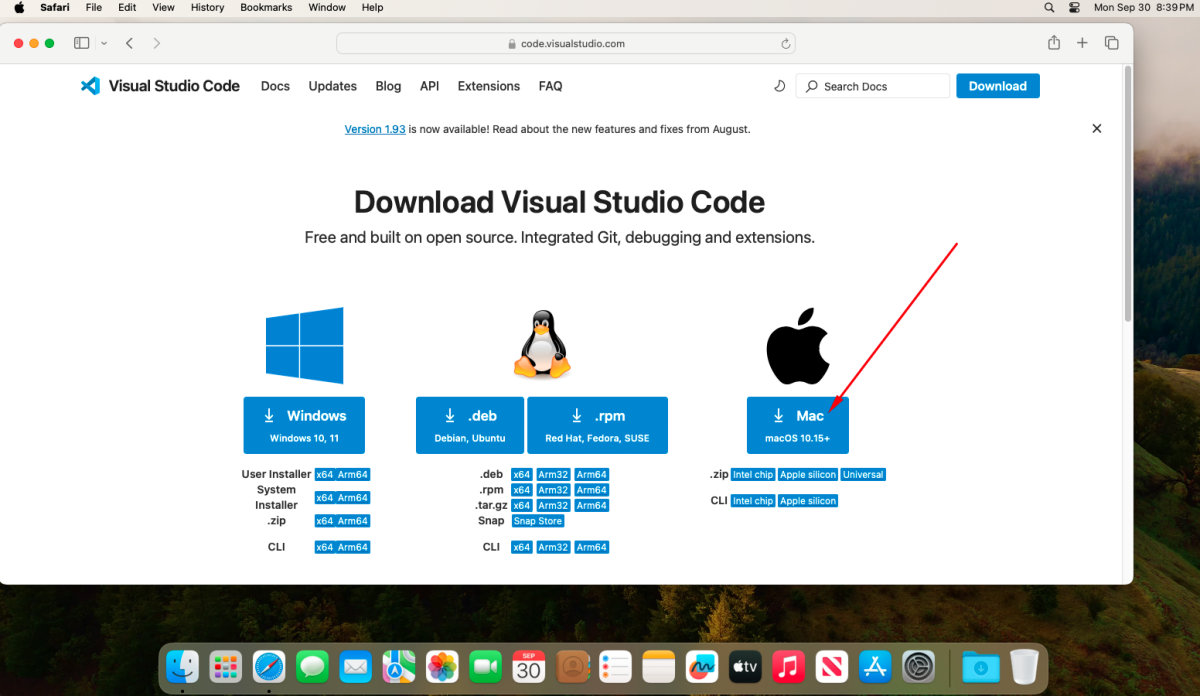
Visual Studio Code.app file to your Applications folder.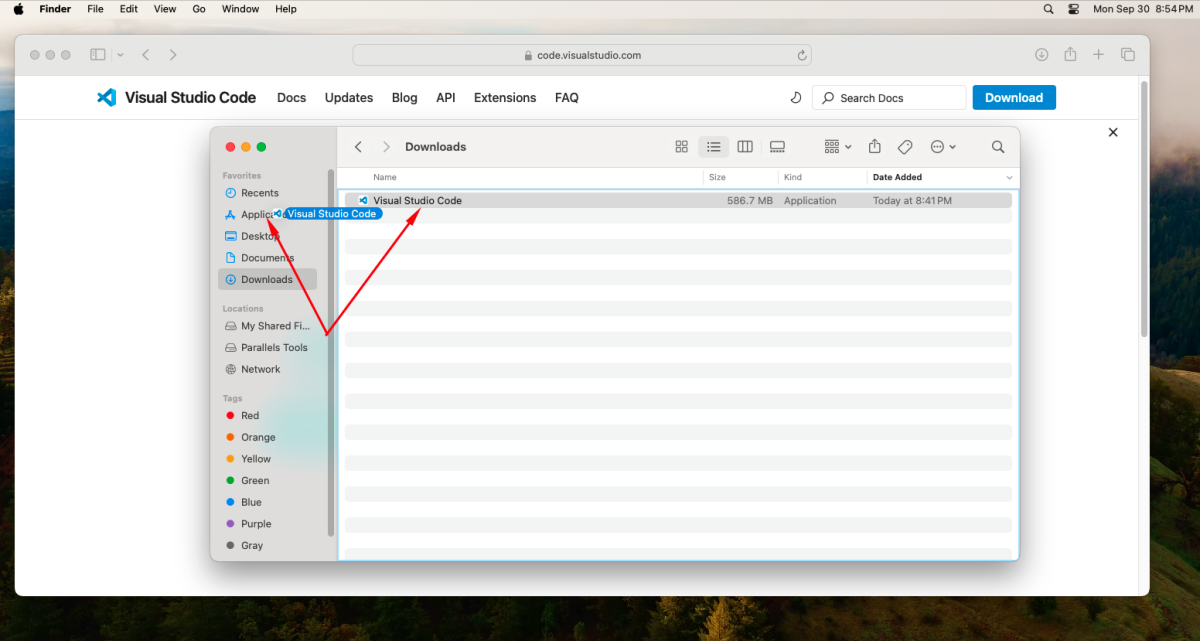
Visual Studio Code.app.Visual Studio Code in the list of applications and click on the icon to open it.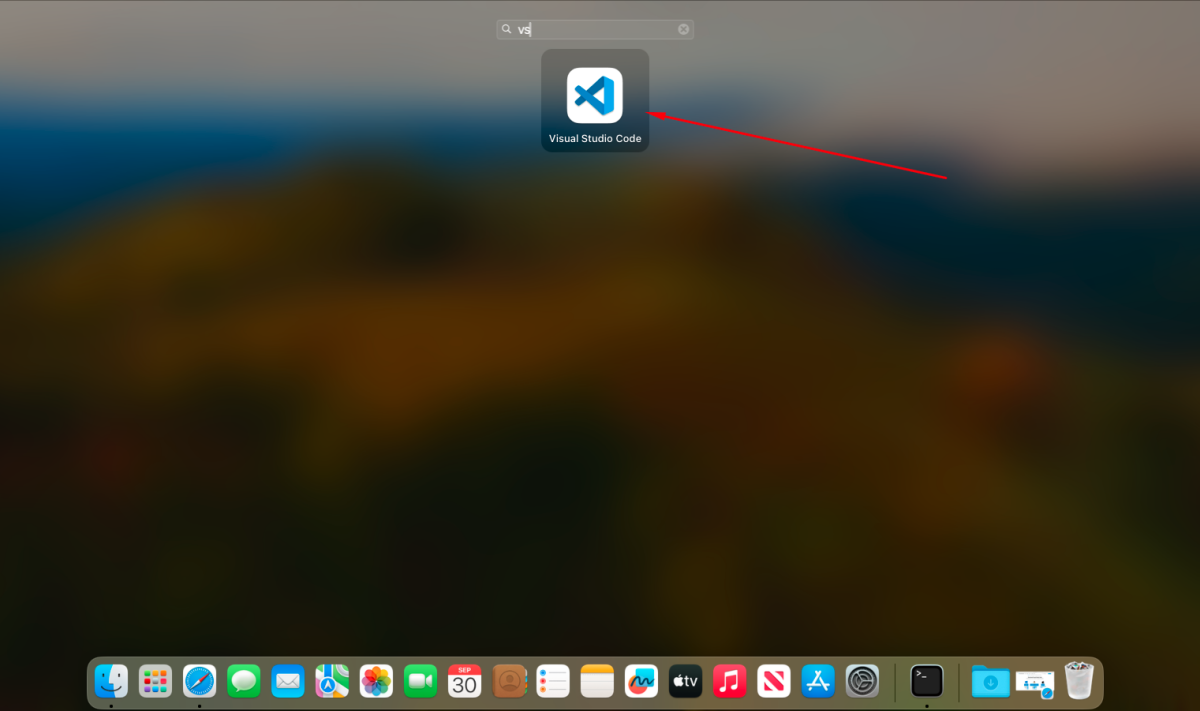 2. Allow Security Permissions: The first time you open it, you may see a warning because it was downloaded from the internet. Click "Open" to proceed.
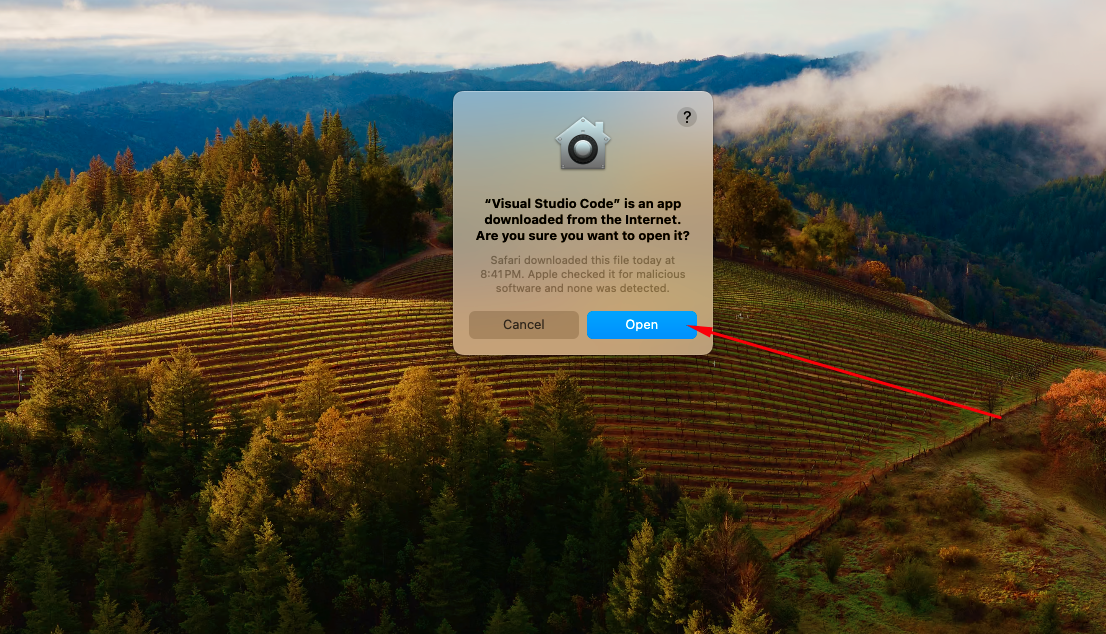
To open Visual Studio Code from the terminal:
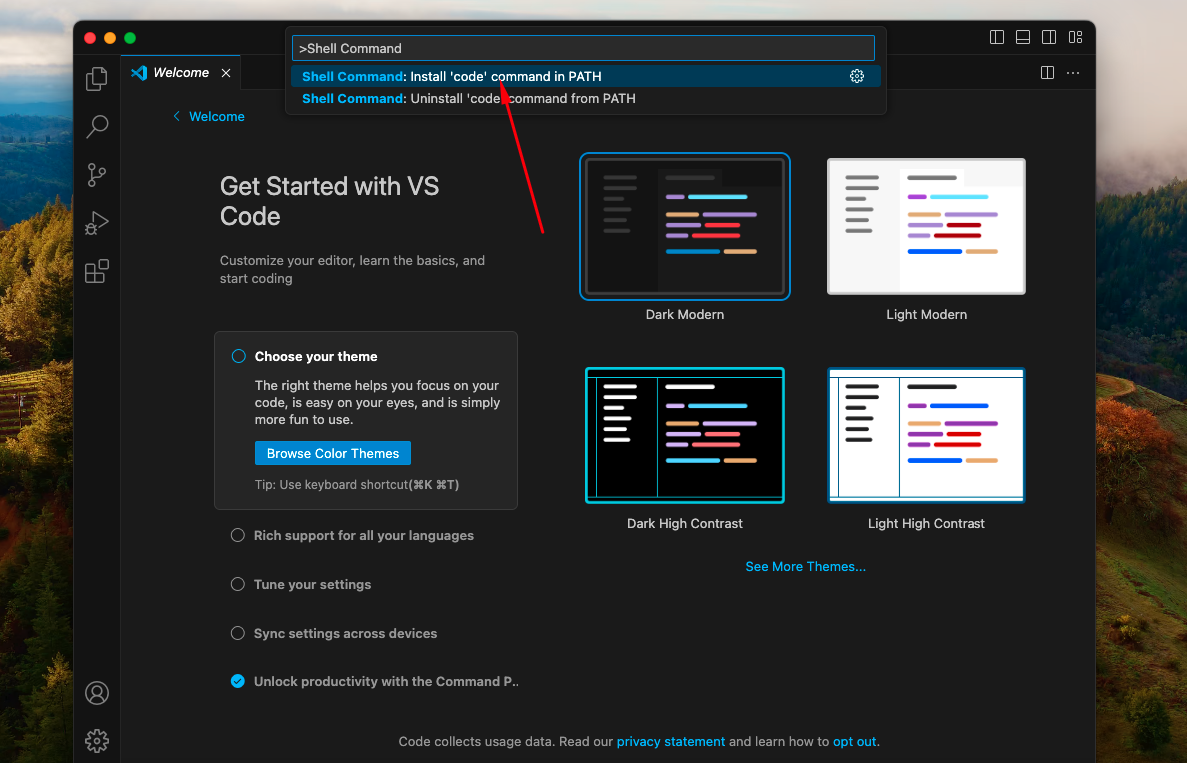
Cmd + Shift + P to open the command palette.Shell Command and select Shell Command: Install 'code' command in PATH.
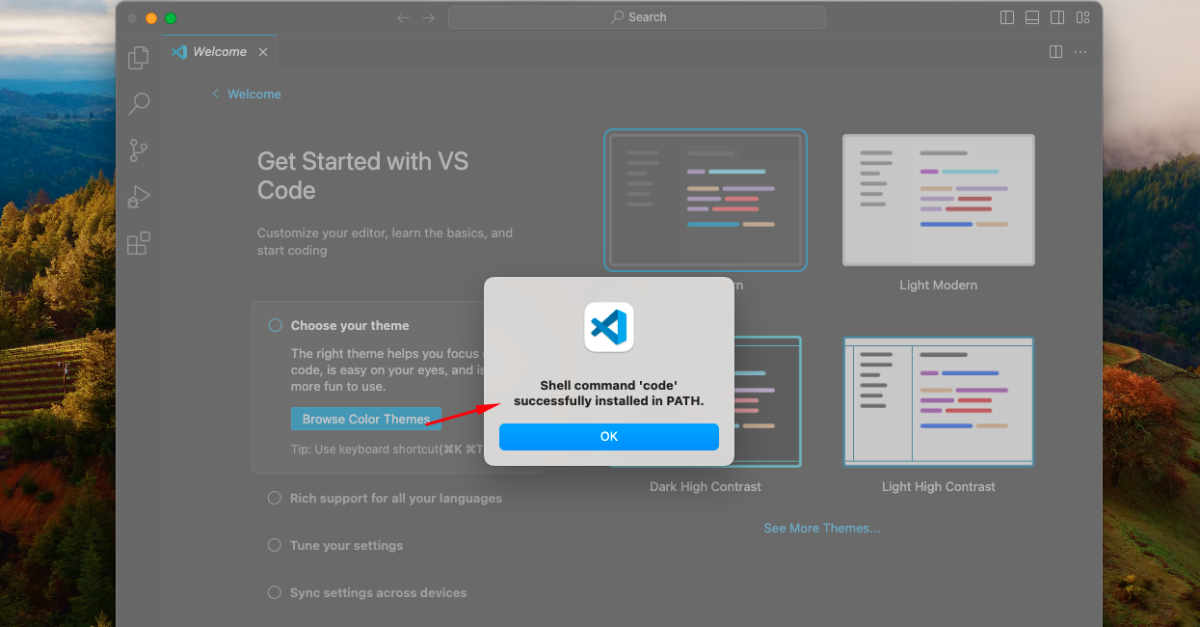
After installation, open Terminal and type:
code --version
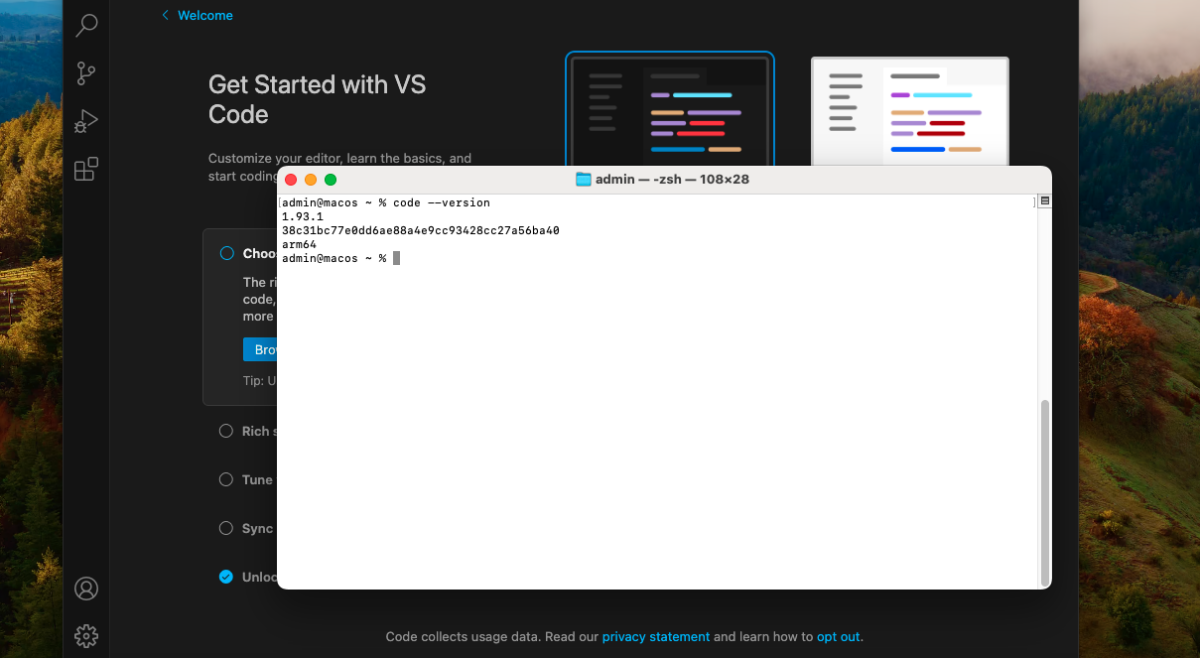 If you see a version number, the command has been successfully installed.
Cmd + Shift + X).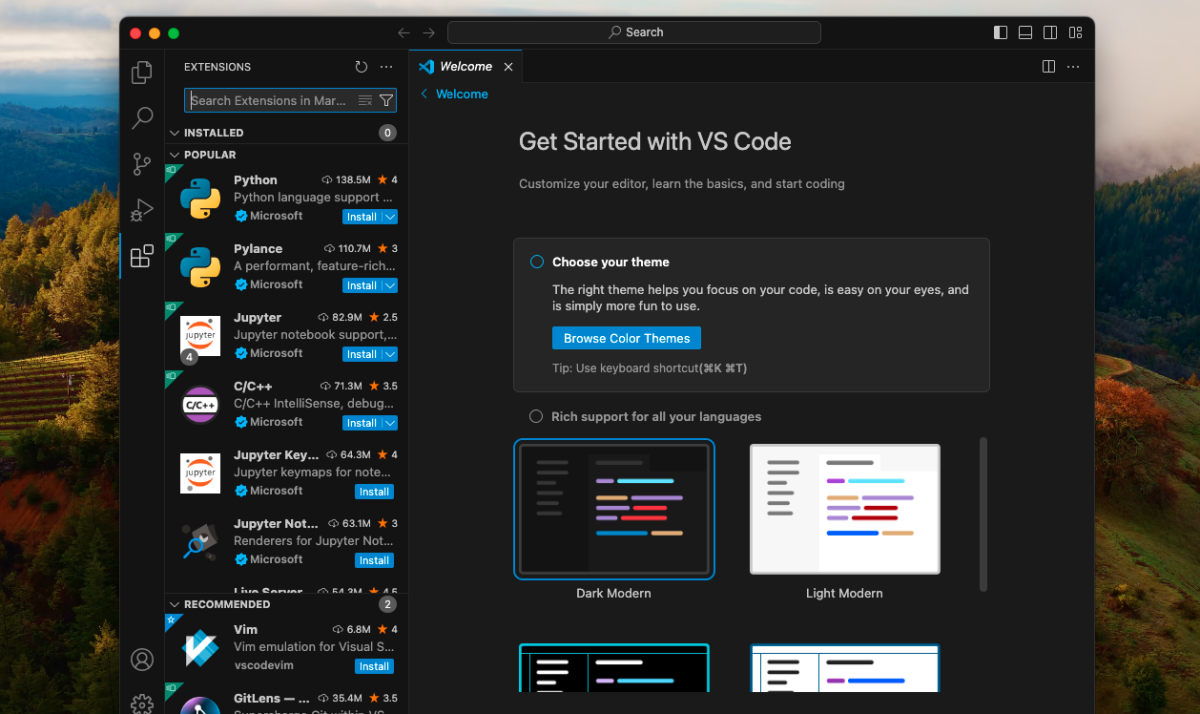
You're all set to use Visual Studio Code on macOS!